Gingerbread Meets Sourdough
December 2022
article & photos by amanda flann
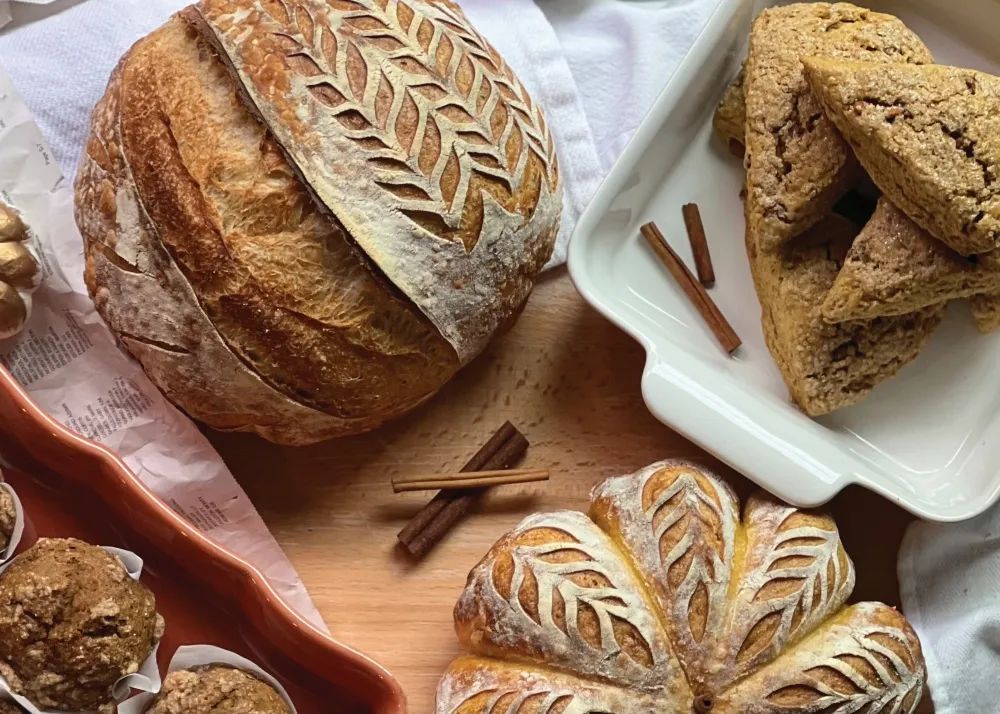
Gingerbread. Say the word, and you’re there: the woodfire crackling, dusk settling, candle burning, the sweet and spicy scent wafting through the kitchen, greeting you at the wreath-decorated front door. There is something about that ginger, allspice, cloves, cinnamon, and nutmeg combination that wraps a fleece blanket around your shoulders and surfaces a sense of holiday nostalgia for many. From gingerbread houses and cookies, to muffins and bars, or quick-breads and scones – the creative opportunities to bring gingerbread to life are endless. But have you tried adapting your favorite gingerbread recipe to a sourdough one?
Sourdough and gingerbread have one thing in common: both can be traced back to BC era, 3000 and 2400 BC, respectively. Sourdough was used as a bread-leavening agent in ancient Egypt1 and according to Rhonda Massingham Hart’s Making Gingerbread Houses, the first known recipe for gingerbread originated in Greece. 2
Sourdough is naturally occurring wild yeast, whereas most active dry yeast you would find at a grocery store are commercially-manufactured, shelf-stable, and provide a predictable, quick rise to a baked good that requires leaven. In contrast, the naturally occurring yeast present in sourdough is fed regularly (often daily) with flour and water (referred to as a sourdough starter in the sourdough world) to maintain its viability.
The good bacteria in a sourdough starter produces acid, which creates the sour flavor that gives sourdough its name. Sourdough requires more rise time (often double) than recipes that call for active dry yeast. However, the ancient practice of utilizing sourdough in baking can yield health benefits, a more dynamic flavor, extra moisture, and a deeper sense of pride to a beloved gingerbread recipe.
A traditional, old-fashioned gingerbread (think cake, not cookie-house) calls for ingredients like flour, brown sugar, molasses, butter, an egg or two, and spices. It also calls for baking soda as a leavening agent. Baking soda is not active dry yeast, but it facilitates some science magic in the oven to create gases (and resulting fluff) for baked goods. Baking soda, like yeast, is fast-acting. The oven is preheated, the ingredients mixed, and into the pan it goes. A recipe like this could be adapted to make use of sourdough starter instead of (or in addition to) baking soda by simply replacing water and flour by weight with a 100% hydration starter (one that has been fed with equal parts flour and water). Remember that sourdough starter? Each time it is “fed” with flour and water, a portion of the starter must be removed – either to utilize in a recipe or placed in a discarded jar (we will come back to this) – to refresh and maintain proper levels of acid and bacteria to keep the wild yeast thriving and happy.
For recipes where you would want to replace the fast-acting leavening agent with natural yeast altogether, be sure to use an active, bubbly sourdough starter that has been recently fed, and give it hours (upwards of 4 to 10+) to develop depending on the temperature. Don’t let the timeframe deter you, though because long-fermented sourdough (meaning those recipes that give the sourdough time to do its magic; not a store-bought sourdough bread that has yeast and other enrichments listed in the ingredients) has a number of health benefits. The microbes present in sourdough work to break down the gluten present in the dough. Those who have a history of Celiac disease should stay away from gluten; however, those with moderate gluten intolerance may find that they can tolerate sourdough bread and recipes more than others because of its digestive benefits.3 It has been said that sourdough has a lower glycemic index (less likely to spike blood sugar) and keeps you full longer, too.
Adding sourdough discard (sourdough starter that has not been recently fed) is another great way to incorporate sourdough into your holiday baking. Unlike active sourdough starters, sourdough discard will not act as a strong leavening agent in your recipe. That said, sourdough discard is packed with flavor and can add moisture and a delicate texture to your baked goods. Sometimes sourdough discard recipes offer a long-ferment option (think mixing muffin batter and placing it in the refrigerator overnight before baking in the morning) to take advantage of some long-ferment sourdough gut-health benefits and rich flavor, but most often, sourdough discard recipes are much quicker and use an additional leavening agent like baking soda or baking powder to transform the once wasted discard into a delicious, flavorful treat.
Are you sold on sourdough? This season, enjoy the sourdough gingerbread recipes below. Don’t let the sourdough scaries keep you from savoring every sweet, spicy (and less gluten-y) bite.
When in doubt, remember that I am running beside you in the sourdough baking journey over at @asmuchasyouknead on Instagram. I would be so encouraged to see your sourdough gingerbread creations there. Happy baking!
- 1&2 “Sourdough Bread.” Sourdough Bread - an Overview | ScienceDirect Topics, https:// www.sciencedirect.com
- 3 Clarke, Stephanie. “Is Sourdough Bread Good for You?” Consumer Reports, 16 May 2022, https://www.consumerreports.org
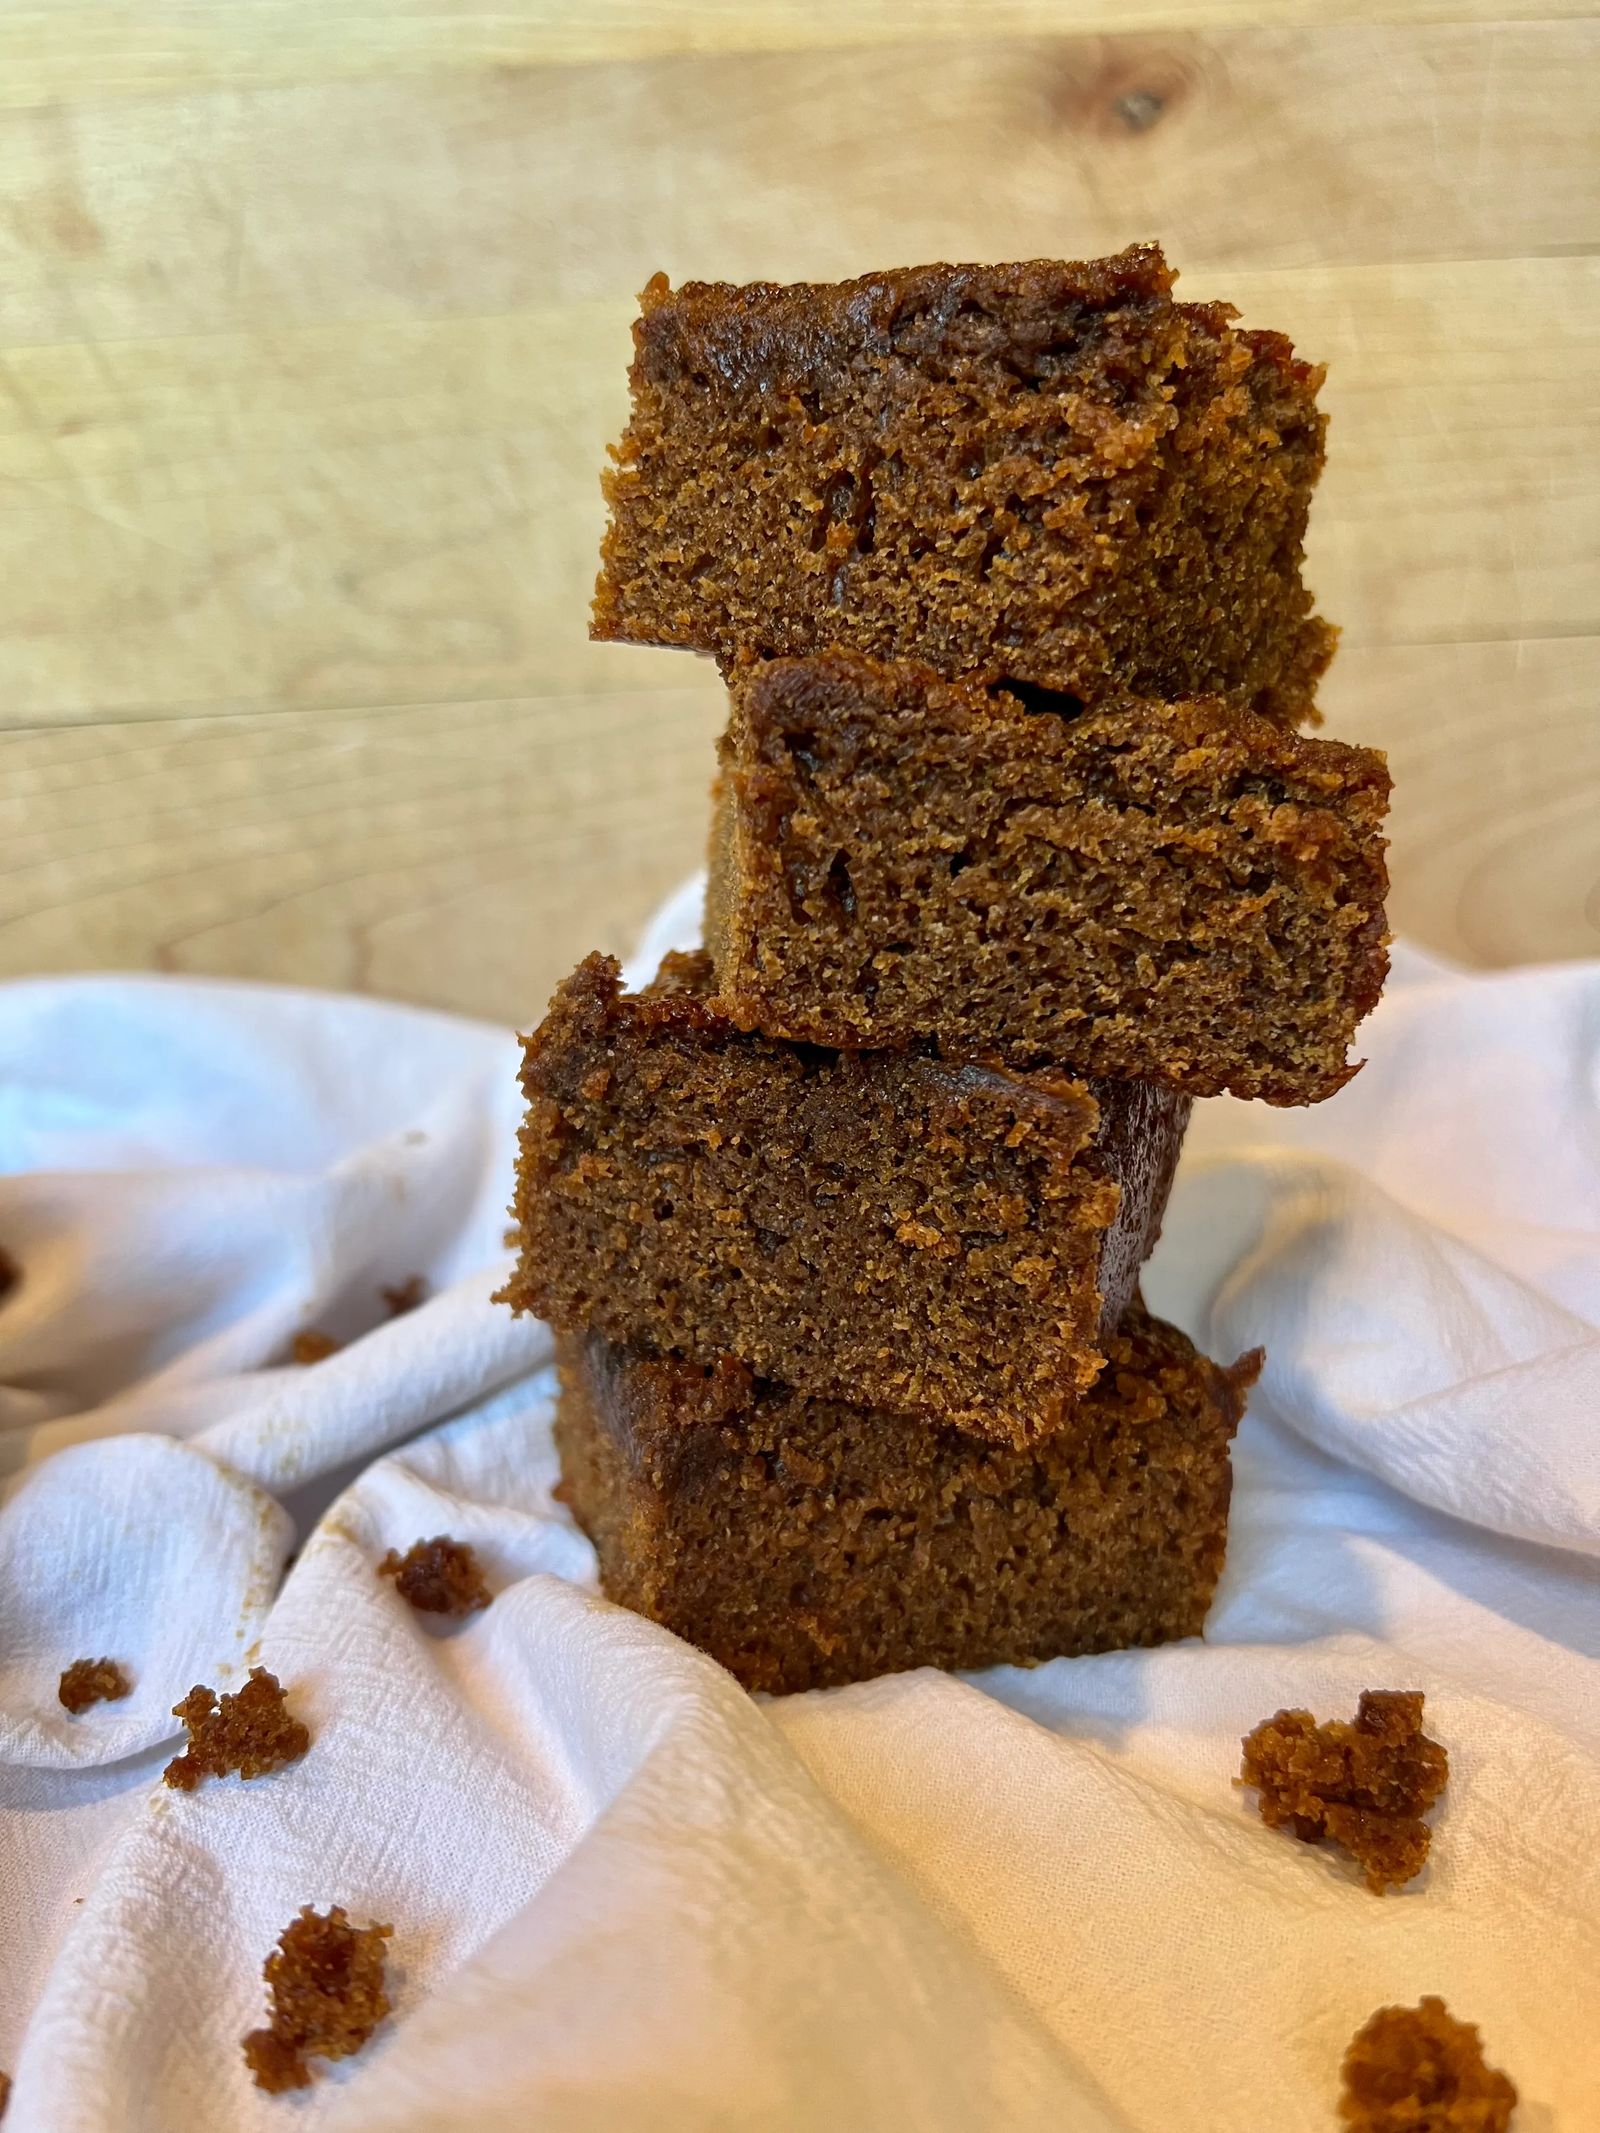
Old Fashioned Sourdough (Discard) Gingerbread

Author: Tammy Spencer (adapted from Epicurious) | Online Source: scotchandscones.com
Prep Time: 10 minutes; Cook Time: 45 minutes
Yield: 16 servings
Ingredients:
- ¾ Cup light brown sugar
- ½ Cup unsalted butter, at room temperature
- ¼ Cup granulated sugar
- ¾ Cup molasses, mild-flavored (light), not blackstrap
- 2 large eggs
- 1 Cup sourdough starter discard, room temperature
- ½ teaspoon baking soda; see Recipe Notes
- 1 Cup all-purpose flour
- 2 teaspoons ground cinnamon
- 1½ teaspoons ground ginger
- ½ teaspoon ground cloves
- ½ teaspoon kosher salt
- ¼ Cup heavy cream
- ¼ Cup water, boiling
Instructions:
- Preheat the oven to 350 °F. Line a 9- x 9-inch baking pan with parchment paper, then spray with baking spray.
- In the bowl of a stand mixer fitted with a paddle attachment (or a large bowl for a hand mixer), beat the brown sugar, butter, and granulated sugar until smooth, about 3 to 4 minutes. Beat in the molasses, then add in the eggs one at a time, scraping down the sides of the bowl as you go. Add the sourdough starter and baking soda to the batter and blend on low speed until everything is just combined.
- In a small bowl, whisk together flour, cinnamon, ginger, cloves, and salt. Add the flour mixture to the batter and mix on low speed until just combined. Finally, stir in the heavy cream and boiling water on low speed again until the batter is just combined. Transfer the batter to the prepared pan.
- Place the pan on a half-sheet baking pan to catch any overflow. Bake the gingerbread for 40 to 50 minutes or until a tester inserted into the center comes out clean.
- Cool the cake in a pan for 15 minutes, then turn out onto a rack and cool completely.
- Serve with whipped cream or vanilla ice cream. Enjoy!
- You can leave the gingerbread on the counter for a couple of days in an airtight container wrapped in plastic wrap. If it’s in the fridge, ensure it is wrapped well so it doesn’t dry out. For longer storage, freeze-wrap well in plastic wrap and a Ziplock bag.
Notes:
- Adding the baking soda to the wet ingredients and mixing the batter well before adding the dry ingredients will prevent the cake from sinking. Make sure to use the proper size pan (a 9- x 9-inch baking pan or two standard loaf pans), or the batter will overflow.
- A half-sheet baking pan under the pan will ensure you won't have a mess in the oven. If you do bake two large loaves in a standard loaf pan, bake the loaves for closer to an hour.
- Use 6 to 8 mini loaf pans for mini loaves and bake for about 25 to 30 minutes. Just remember to fill the baking pans about halfway full, so you won't overflow them, and bake them on a half-sheet baking pan, just in case.
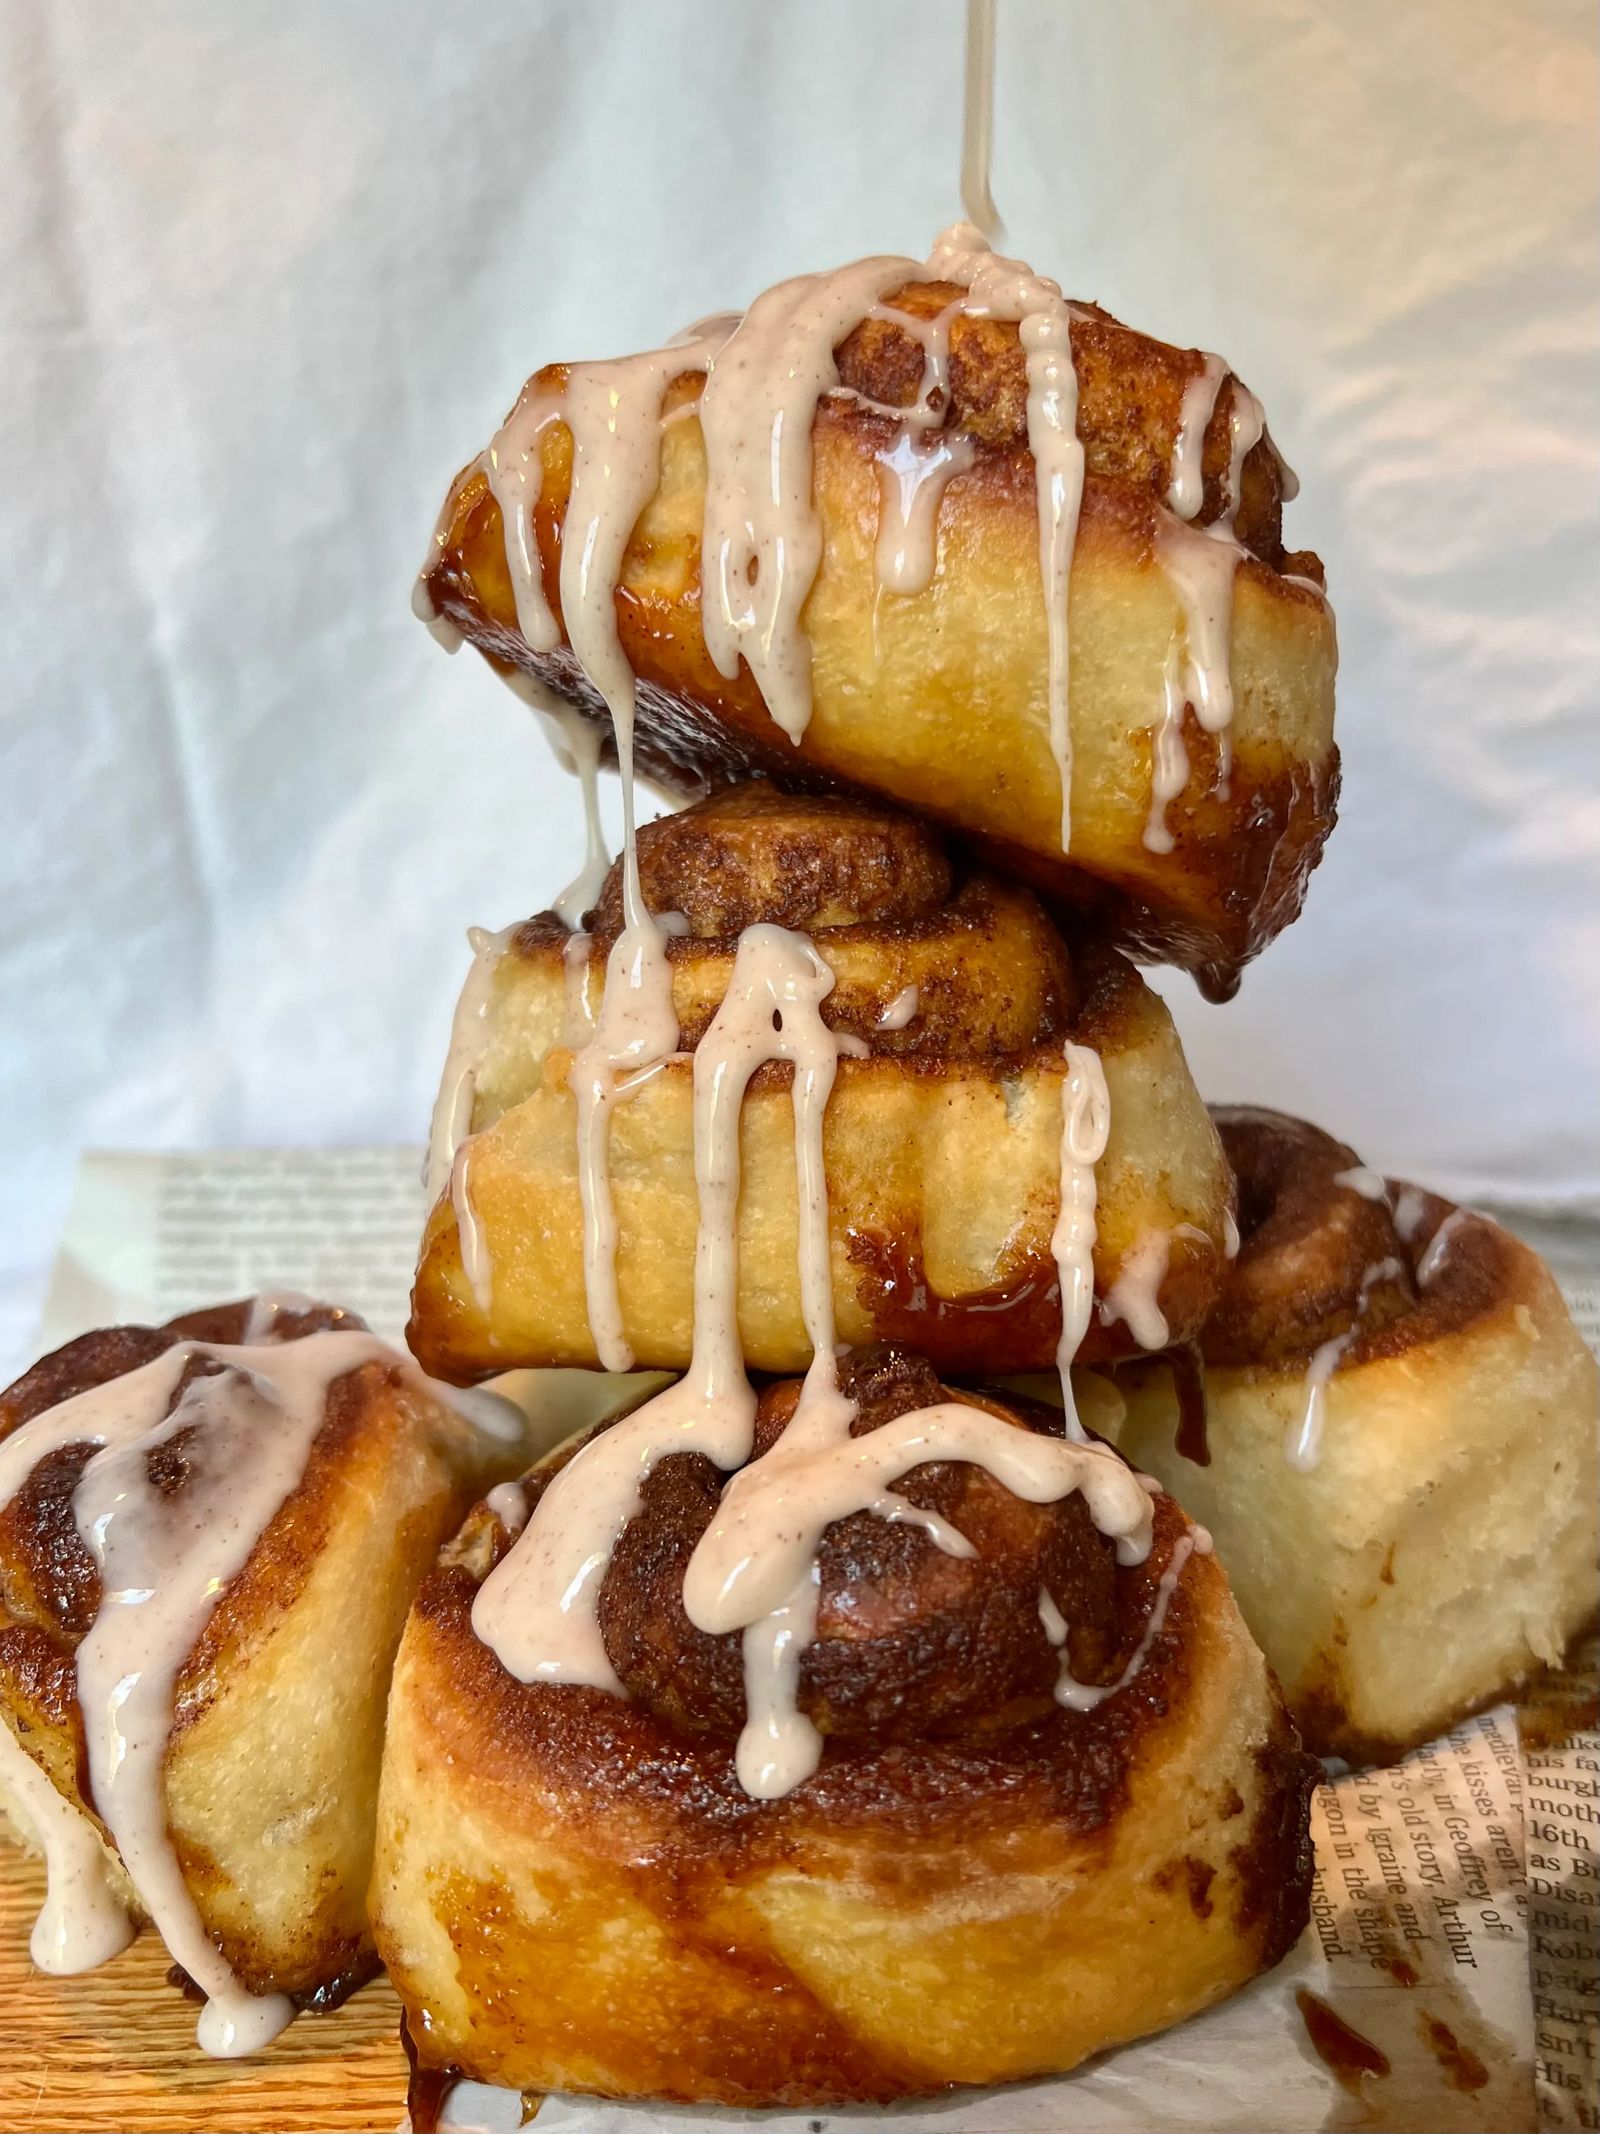
Easy Gingerbread Cinnamon Rolls Made With (Active) Sourdough Starter

Author: Kaitlynn Fenley | Online Source: cultured.guru
Prep time: 6 hours; Cook Time: 45 minutes
Yield: 12 servings
Dough Ingredients:
- 540 grams bread flour
- 5 grams sea salt
- 300 grams milk, whole or 2%, room temperature
- 30 grams unsalted butter, melted
- 1 large egg
- 150 grams bubbly, active sourdough starter
- 35 grams maple syrup
Filling Ingredients:
- 1/4 Cup cold butter
- 1/2 Cup sugar
- 1/4 Cup molasses
- 2 teaspoons ground ginger
- 3 teaspoons cinnamon
- 1/2 teaspoon nutmeg
- 2 Tablespoons flour
Icing:
- 10 ounces icing of choice.
Instructions:
- Combine the egg, sourdough starter, and maple syrup until smooth. In a separate bowl, combine the milk and butter.
- Slowly whisk the milk and butter mixture into the bowl with the egg, starter, and maple syrup.
- Mix all of the dry ingredients in a separate bowl.
- Fold the dry ingredients into the wet ingredients until just combined and a shaggy dough ball forms. Let sit for 20 minutes.
- After 20 minutes, knead the dough into a uniform dough ball.
- Rub a large bowl with a bit of oil, and place your dough ball in the large glass bowl. The dough ball should be soft and quickly morph to fit the shape of your bowl.
- Allow the dough to rise at room temperature (about 78 degrees F), covered for 3 to 4 hours.
- During the rise time, stretch and fold the dough twice. Using a spatula or your hands, stretch up the bottom of the dough without breaking it, and fold over the top of the dough. Stretch and fold the side over side, then top over bottom. As you do this, you’ll notice more resistance stretching the dough.
- Remove the dough from the bowl and place it on a well-floured surface. Gently pull out the dough until it is a large rectangular shape. Be gentle. You want the dough to still have some fluff to it. The rectangle should be about 15×10 inches.
- Prepare the gingerbread filling by mixing all the ingredients together, mashing with a fork.
- Evenly distribute the gingerbread filling over the dough. (I use my hands to do this.)
- Line a medium baking dish with parchment paper.
- Gently roll up the dough. Work quickly, so the dough holds its shape. You can roll the dough along the longer or shorter side. I like to roll along the longer side to get more rolls and along the shorter side for thicker rolls.
- Cut the dough into slices and place the slices in your parchment paper-lined baking dish with the swirls facing upward. You want the rolls to fit snugly against each other in the baking dish.
- Cover the rolls and allow to rise at room temperature for about 2 hours until they’ve puffed up a bit.
- Next, allow to proof in the fridge overnight for 8-12 hours.
- Preheat the oven to 375° F.
- After the final rise time, bake for 40-45 minutes until the rolls are golden brown. Time may be adjusted depending on your oven.
- Remove the rolls from the oven and cool for 30 minutes. Add the icing on top, and enjoy!
Originally printed in the December 2022 issue of Simply Local Magazine
Never miss an issue, check out SLM's digital editions here!


