
Easy October Activities for Kids
October 2026
Article by Kara Schwalbe
Photos by Lovely Hitchcock
Halloween is often just one night, but the fun doesn't have to end there. While you wait for the big night to carve your pumpkin, try one of these crafts to get into the spirit, and check out our ideas for what to do with all the candy afterward. These activities adapt easily for different ages and skill levels, no fancy materials required.
SIMPLE, FESTIVE KIDS CRAFTS
Cotton Ball Ghosts
Ages: 2+ | Mess Factor: Low | Time: 20 mins
Materials: Black construction paper, white cotton balls, washable school glue, black felt or paper scrap (for eyes/mouth)
- Outline: Draw a simple ghost outline on a sheet of black construction paper.
- Fill: Let little hands squeeze glue inside the outline and press cotton balls down to fill the shape.
- Features: Glue on pre-cut black paper circles for the eyes and mouth.
Pro tip: Pre-glue the background paper onto a piece of cardboard if your toddler tends to go heavy with the glue.
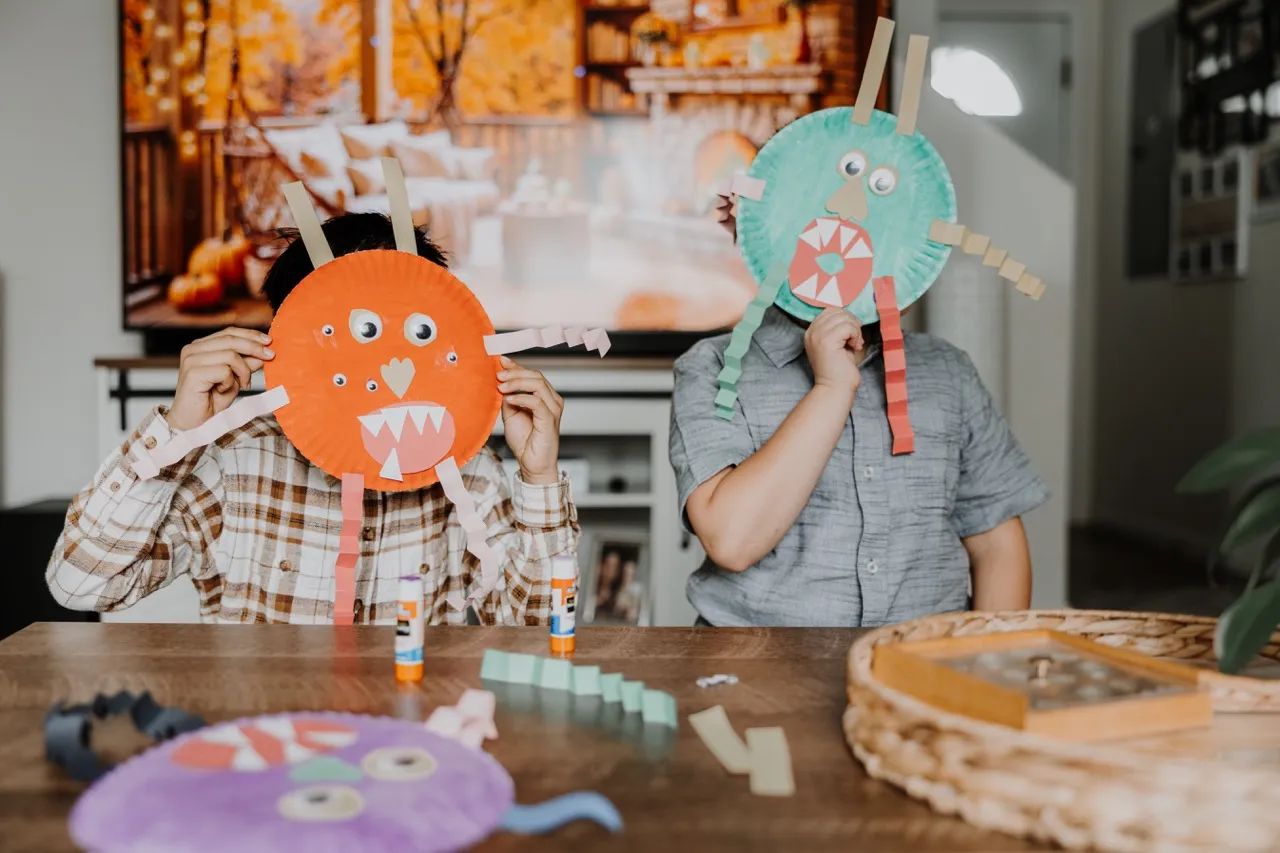
Paper Plate Monsters
Ages: 3+ | Mess Factor: Medium | Time: 20 mins
Materials: Paper plates, washable paint & brushes, construction paper, glue, optional googly eyes
- Paint: Paint a paper plate any wild monster color and set aside to dry.
- Prep Features: Cut out paper shapes for the face: different-sized circles for eyes, a half-circle for a mouth, and white triangles for jagged teeth.
- Fold 3D Limbs: Cut long, thin paper strips and fold them back and forth like an accordion to create bouncy arms and legs.
- Assemble: Glue the facial features, googly eyes, and floppy limbs onto the dry plate.
Pro tip: Googly eyes instantly bring these friendly creatures to life, and asymmetrical faces make the silliest monsters, so let the kids decide where the features go.
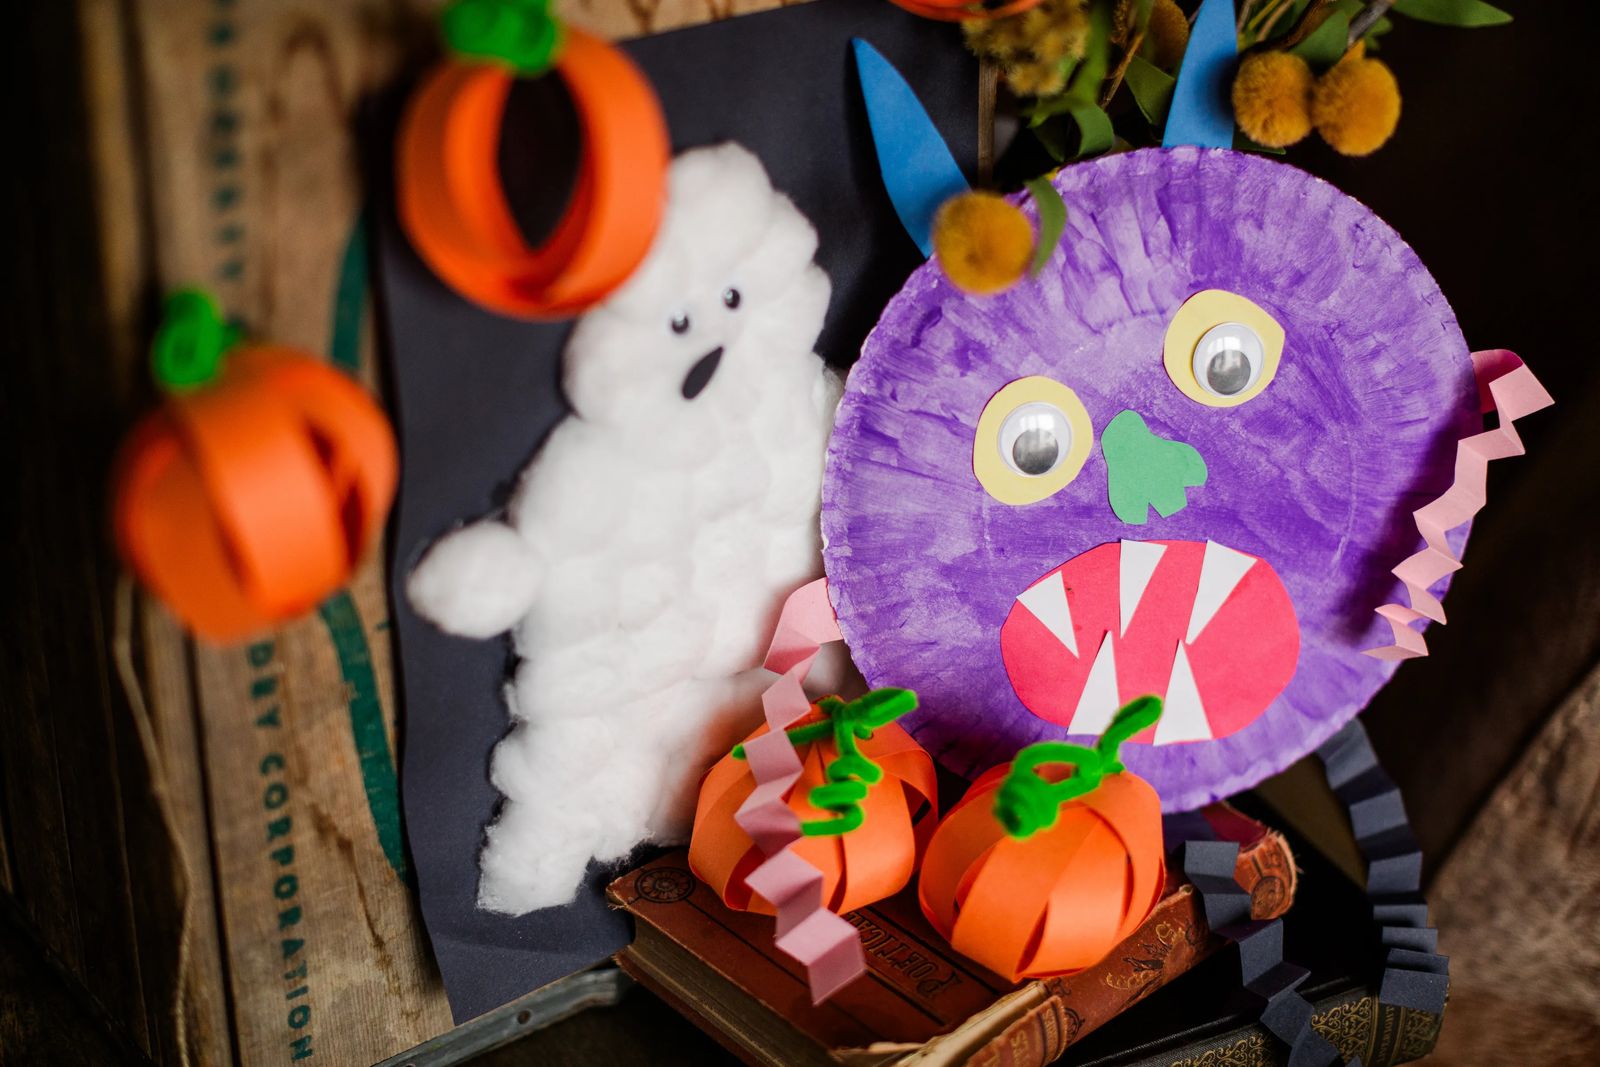
No Glue Pumpkin Garland
Ages: 4+ | Mess Factor: Low | Time: 30 mins
Materials: Orange construction paper, green or brown pipe cleaners, hole punch, stapler, twine or string
- Cut Strips: Cut 4 orange paper strips (about 1 to 1.5 inches wide) along the short side of the construction paper.
- Punch Holes: Punch a hole near both ends of every strip (2 holes per strip).
- Fan & Staple: Stack the 4 strips on top of each other, fan them out into a star/circle pattern, and staple through the exact center to lock them together.
- Form the Pumpkin: Gather all top holes together into a single, flat stack above the center. Thread a pipe cleaner through all the holes to pull the strips into a 3D sphere. Twist the pipe cleaner into a curl or leaf shape to secure it.
- Hang: Repeat for as many pumpkins as you like, then thread twine through the pipe cleaner loops to string your garland together.
Pro tip: For toddlers, pre-cut the paper strips so the fun starts right away. For early readers, lightly draw pencil lines on the paper so they can practice their scissor skills.
ALL THE FUN WITH PUMPKINS
Ages: 2+ | Mess Factor: Varies | Time: 20-30 mins
Whether you're crafting with toddlers or big kids, you don't need sharp knives or complicated setups to carve a jack-o'-lantern. Start with a fresh pumpkin from local spots like T&C Farms or Grandpa's Farm (look for a healthy green stem), then pick the right decorating method for your family's age group:
- For Toddlers: Skip the mess and use double-sided tape. Apply tape in vertical stripes or face shapes, then let little hands press on stickers, paper cutouts, pom-poms, or ribbon.
- For Preschoolers: Try tape-resist painting. Map out monograms or shapes with painter's tape, have kids paint the entire pumpkin, and peel tape away once dry to reveal crisp designs.
- For School-Aged Kids: Use metal cookie cutters as a knife-free way to carve. Scrape interior walls down to ½ inch thickness, position a cookie cutter against the outside, and gently tap it through with a rubber mallet. Use a dry-erase marker for quick design sketches since it wipes right off.
Local Event: Enter your finished pumpkin into the Downtown Billings Pumpkin Decorating Contest.
THE POST-HALLOWEEN CANDY PLAN
Ages: All | Mess Factor: Low | Time: 10-15 mins
Don't let the Nov. 1 candy haul overwhelm your kitchen counter. Turn the trick-or-treat stash into an educational activity, a lesson in generosity, or a head start on holiday traditions:
- Sort & Learn: Grab a poster board or piece of cardboard, draw a few large boxes, and let kids sort their loot by color, type (chocolate or fruity), or size. Pro tip: Use sticky notes for category headers so you can easily switch up the game.
- Donate & Trade: Keep a curated stash of favorite treats and donate the rest. Billings Food Bank takes unopened candy, or you can bring it to Soda Station to contribute to Treats for Troops. Try calling your dentist to see if they have a take-back program. You can also introduce the "Switch-Witch," where kids trade candy overnight for a small toy or book.
- Save for the Holidays: Select 25 pieces to set aside for a December countdown calendar. Pro tip: Check the November issue of Simply Local Magazine for a guide to making a DIY Kindness Calendar with the leftovers.
Originally printed in the October 2026 issue of Simply Local Magazine
Never miss an issue, check out SLM's digital editions here!


