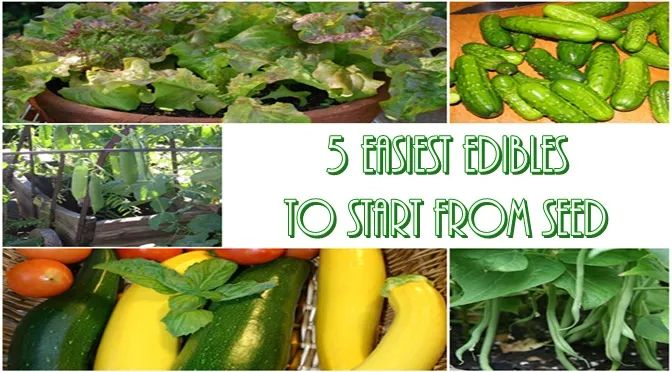
5 easiest edibles to start from seed
These fantastic vegetables are super easy to plant and grow; even your children can grow a successful garden! They are practically guaranteed to turn even “black thumbs” green!5 easiest edibles to start from seed:
#5 Lettuce - Far more than the ubiquitous, watery iceberg balls found in the grocery store, home-grown lettuces include butterheads, French crisp, loose leaf of every color and variety imaginable. Glowing yellows through every shade of green, pink to red to purple – there is a lettuce for you! Crinkled and fringed leaves, “deer tongue” spears, oak-leafed and frilled, spiraling points, or Romaines with fascinating names like “Trout Back”, “Eiffel Tower”, or “Crisp Mint”. Lettuce is ready to eat, depending on the variety, from as soon as 28 days from sowing! You can even grow “micro greens” in as little as 14-21 days, rivaling gourmet chefs around the world with these intensely nutritious, mild-flavored, and quick-growing greens from your own backyard or container spot.
- Scatter seed 1-2” apart (unless you are planting head lettuce, in which case it should be more like 10-14”) directly on top of soil.
- Gently shake loose soil over the top of the seed to a depth of around 1/8”, then gently press down to firm soil and remove any air pockets.
- Pelleted seed is a great option for lettuce! It has been coated with a clay-based material to help form a larger shape, which makes it easier to handle and space.
- Water carefully to dampen soil, and keep damp by misting at least daily until seeds germinate (2-15 days).
- Thin seedlings to packet instructions (generally 8-16” spacing between plants) by using blunt scissors; throw the gleanings on your next salad!
#4 Cucumbers – From pickles to crunchers, slices of cool, crisp cucumber adorning a fresh salad are practically a requirement of summer! And who could taste gazpacho (that cold, fresh summer soup) without not longing for it again in winter months?
- Do NOT plant cucumbers too early! They should not go in the ground until mid to late May, after the soil has well-warmed. These vines like warm and dry conditions.
- Cucumbers do well in raised beds, hills, or even good-sized containers.
- Fertilize the soil around your planting zone by adding a few cups of good compost and mixing in.
- Poke your finger about halfway to the first knuckle (about ½”) into the soil. Drop in 4-6 seeds. Close the hole and pat soil gently to remove any air pockets.
- Water soil until damp, but do not let seeds sit in standing water.
- Germination occurs within 4-13 days.
#3 Squash/Pumpkins – Around August, jokes start filling up the internet about baseball-sized clubs of zucchini being left on porches and in unlocked cars… but all kidding aside, if you plant just one or two squash plants, you can grow small, delicious fruits like the “Piccolo”, a roundish green-striped fruit about tennis ball size and loaded with flavor. Or try the “Latino”, a ridged squash that when cut cross-section sports star-shaped flesh, with just a hint of nuttiness in flavor. Pattypan-type squashes are delightfully attractive and work well in most any squash dish… or even chunked up on a fresh salad, or marinated in a nice Italian vinaigrette, or grilled with chunks of chicken or sausage on a kabob! Pumpkins are in the squash family (curcurbits), and you grow them exactly the same way… just leaving them on the vine until either a hard freeze threatens, or the vine has died back.
- To plant: Squash and pumpkins like lots of sunlight and good, rich soil. They do *not* like having their roots disturbed, so they do very well planted as a seed directly in place rather than transplanted from a pot.
- Plant squash or pumpkins in “hills”… slightly elevated mounds of soil (so that the seed does not sit in too much water and rot).
- Enrich your soil with compost before sowing seeds. Even several cups from a bag of composted cow manure would work great!
- Poke a finger down to halfway to your second knuckle in the soil (about 1-1 ½” deep).
- Drop 2 or 3 seeds into the hole, then gently pat soil back over the seeds.
- Water until the area is damp.
- Mark the location of your seeds along with the variety. It should germinate within 5-10 days.
- Water deeply at least twice a week. Mulch is very helpful; consider seed-free hay or straw to trap moisture in the soil and keep fruit out of the mud.
#2 Peas – Now is the time to plant your peas! From edible-podded Sugar Snaps and Snowpeas to shelling peas, these delightful little green orbs are incredibly tasty fresh from the garden.
- Peas are marvelously easy to grow! They are not super particular about the soil they are grown in, and can be grown in quite cool conditions.
- Pre-soaking pea and bean seeds can sometimes help speed up the germination process by several days. Just place your seeds in a container (even a Ziploc bag works) and add tepid, filtered water to cover. Soak for 12-24 hours, drain, then proceed as usual.
- Work some organic matter (ie, bagged or bulk compost) into the soil where you will be planting.
- Dig a furrow about 1-1 ½” deep with a stick, shovel, spade, or your finger.
- Drop seeds about 1” apart, and cover with soil.
- Water until damp.
- Seed will germinate generally within a week or two, especially if they have been pre-soaked.
- Peas do like “cool feet”, so mulching with seed-free hay or straw, finely ground wood chips, or saved autumn leaves helps.
And the #1 easiest edible to start from seed: Bush Green Beans!! Richly flavorful, fresh green beans are a garden delight! Crisp and sweet, even the pickiest eater cannot help but enjoy these antioxidant- and vitamin-loaded little spears. Especially when they come in colors other than the basic green… from sunny yellow “Carson” to violet-purple “Royal Burgundy” or “Romano Purpiat”, or even the fascinating “Dragon Tongue” which turns from lime green to yellow with bright purple stripes, beans are just plain fun! Check out the 18” long garnet-colored “Red Noodle” bean!
- Beans like warm soil; like cucumbers, they are the vegetable that you’re most likely to see wearing flip-flops and sunscreen. OK, maybe not… but save sowing these seeds until the weather is firmly warm!
- Sow bush beans in rows 18-36” apart, with plants 2-4” apart. Bush beans do NOT need to be trellised, unlike their pole bean brothers.
- Dig a furrow about 1” deep with a stick, shovel, spade, or your finger.
- Drop seeds in about 2” apart, and cover with soil.
- Water until damp.
- Seeds will germinate in one to two weeks; sooner if seed has been pre-soaked (see Peas, above).
About the author…TJ Wierenga is a Billings-based homeschooling Mom and a gardening coach. Find her on Facebook at My Gardener Friend!